

How to Replicate the RGBA Colour Space
Created on 31 May 2024
The concept of the RGBA colour space involves defining digital colours in terms of the combination of red, green, and blue, along with the alpha channel for transparency. The alpha channel determines the transparency or opacity of the colour. The RGBA channels show the red, green, blue, and alpha components of a digital colour. The red, green, and blue channels define the colour itself, while the alpha channel shows the transparency or opacity of its colour.
For this concept, you will need Kdenlive version 24.02.2 running on your operating system.
Step 1: Project Preparation
When you launch the video editor up, the project settings menu will occasionally show up on your screen. All you need is 4 video tracks and 1 audio track if necessary. Choose a clip of your choice to apply this effect with it, and confirm to added to your library, the bottom left of the interface.
Step 2: Preparing the Layout
When you have already imported the clip on a timeline, all you have to do is prepare a layout within a 2x2 grid by applying the transform to the clip, and you will set its size to 50% and you will align it to the top-left. Do the same for bottom-left, top-right, and bottom-right parts too.
Here's what it will look like when you've done that step:
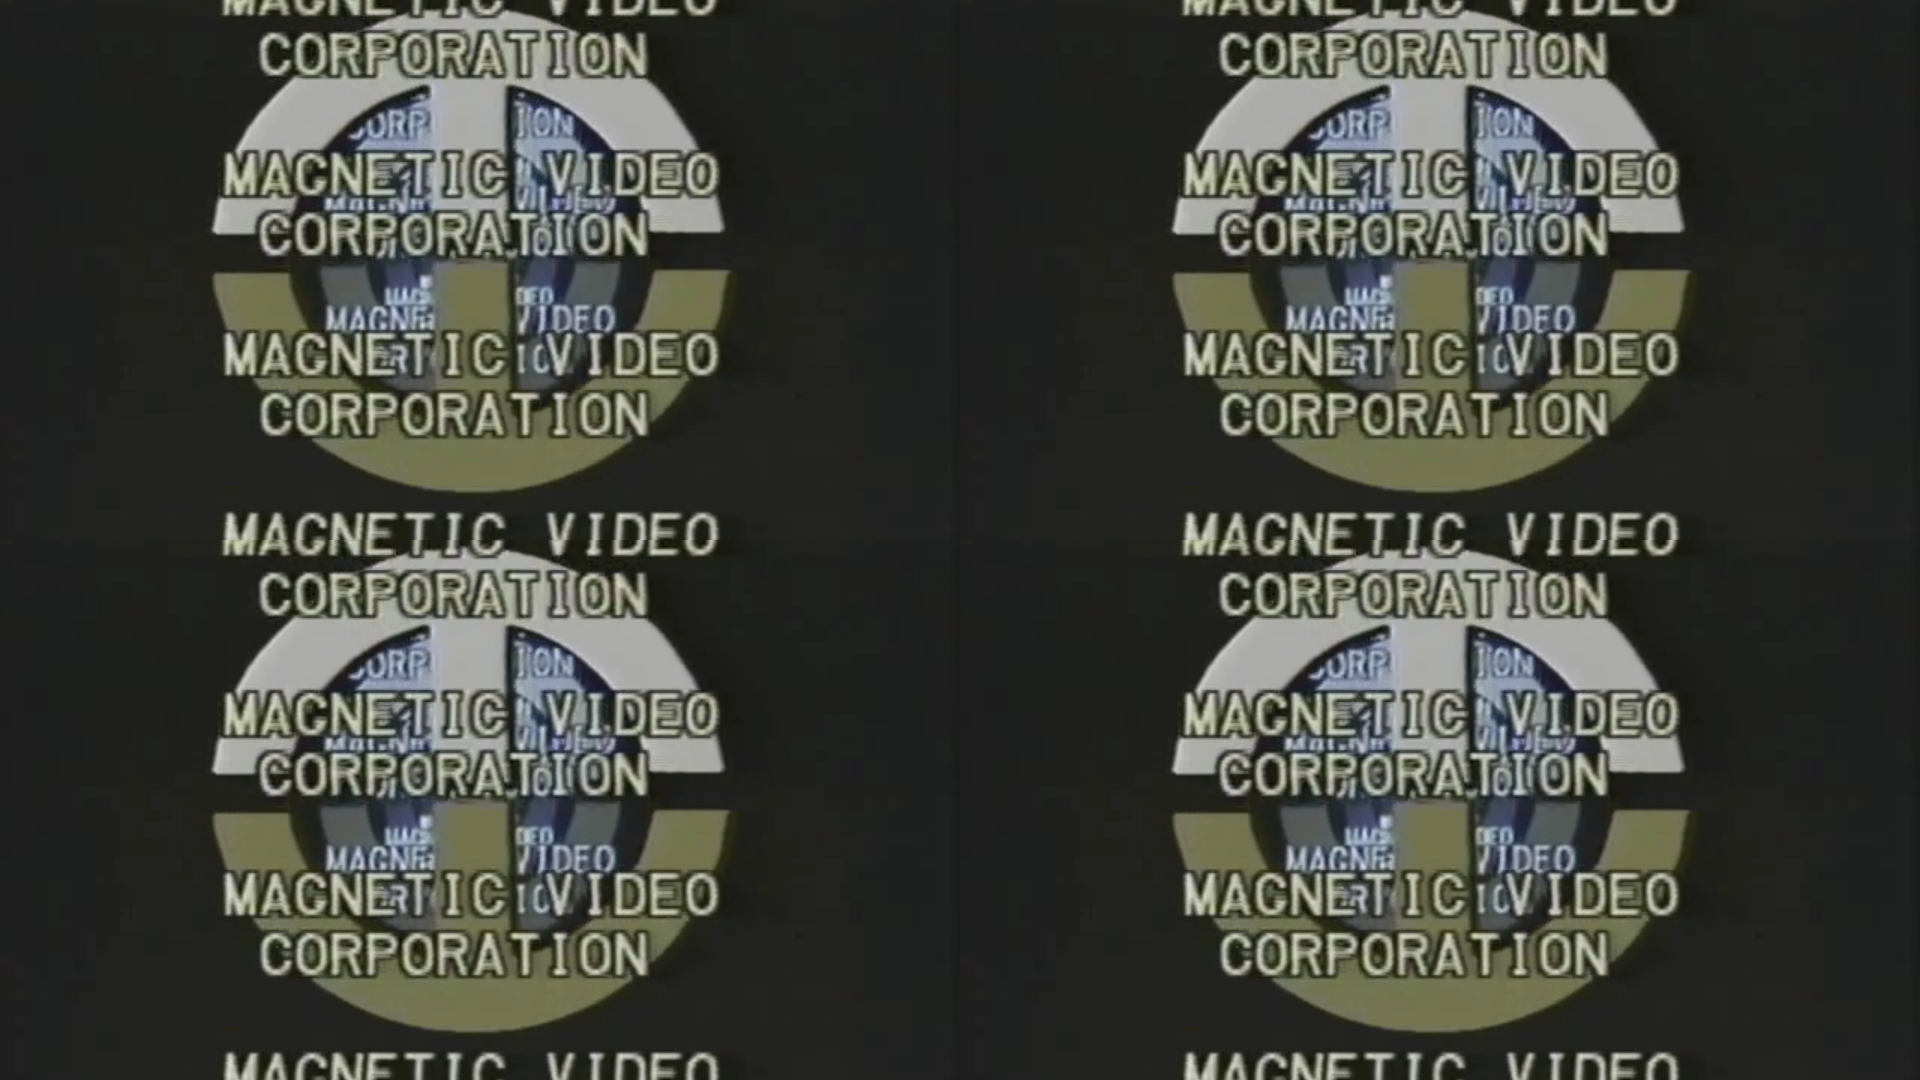
The Magnetic Video Corporation logo sequence, applied in a 2x2 grid layout
Step 3: Applying Video Effects
To replicate the colour space, all the effects you'll need are the Colour Channel Mixer, Alphaextract, and Invert0r (or Invert). For the first track, remove the green and blue channels to make the video red. For the second track, you might remove the red and blue channels to make the video green. For the third track, you will remove the red and green channels to make the video blue. For the final track, apply both the "Alphaextract" and "Invert0r" (or the Invert filter) to make the video filled black.
Once you have completed rendering the result, your video should look exactly like how it's applied:
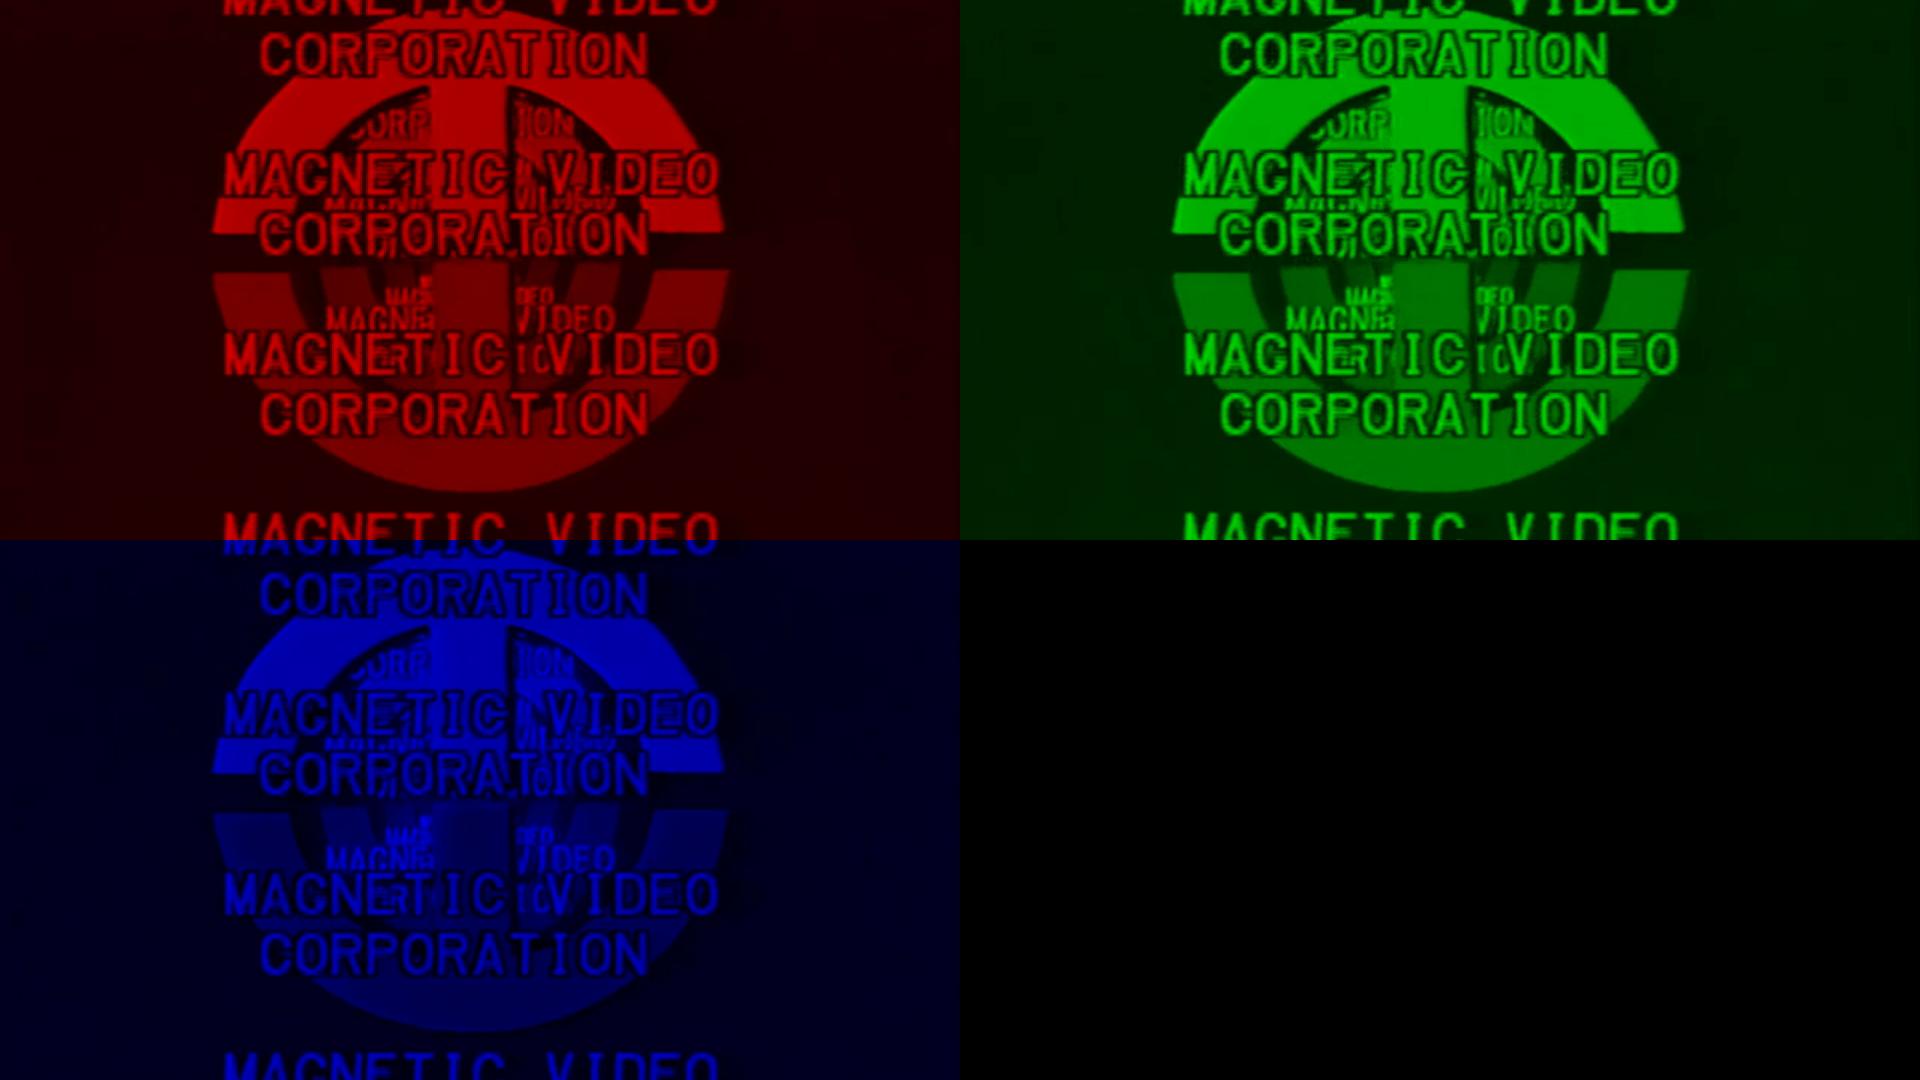
The result of the Magnetic Video Corporation logo in a RGBA colour space
Step 4: Considering Extractions (Optional)
This step is optional and you can also include the considerations of the concept if needed. For the first track, apply “Channel Extractor RED” to represent the isolation of the red component of a video source. For the second track, you may apply “Channel Extractor GREEN” to represent the isolation of the green component of a video source. For the third track, apply “Channel Extractor BLUE” to represent the isolation of the blue component of a video source. For the last track, just apply the Alphaextract filter to the video clip to show the conversion of the alpha channel, filled with white.
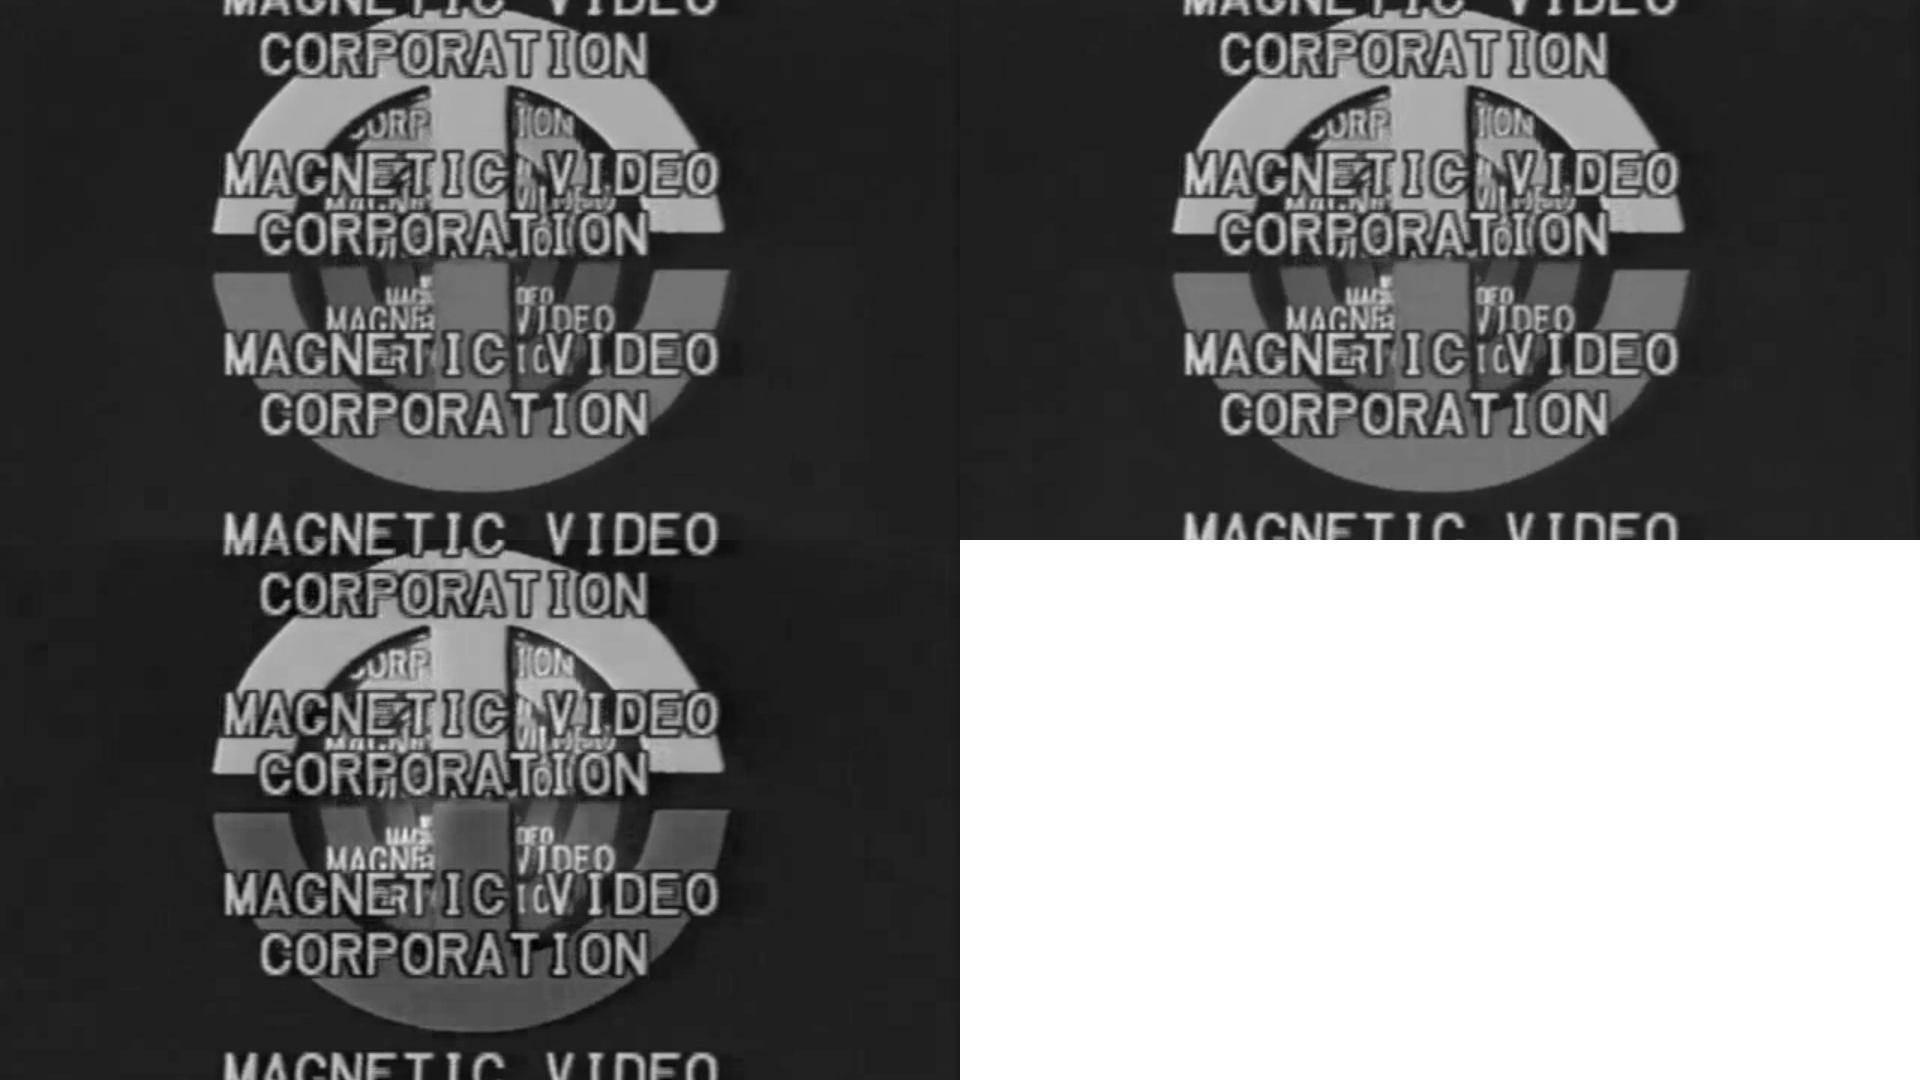
Preview of showing the values from the RGBA colour space as a consideration
Step 5: Preview, Render, and Upload
Once you've completed all of the steps to achieve this effect, click on the render button if you enabled the extra toolbar or hover the project option in the menu bar, and click on the render button. You can use the shortcut "Ctrl+Enter" or "Ctrl+Return" to get the rendering menu pop up on your screen too. Finally, you would name your output file to whatever you want to call it or something and start rendering. Once you've done that, preview your video and upload it to YouTube, Dailymotion, Vimeo, Odysee, Rumble, VidLii, or any other video hosting website you want to put there.