

How to Create a Robotic Effect
Created on 16 July 2024
As you know, this effect concept is different from Robot 2, made by Kyoobur9000 because it features the triplets of pitches and regular visualisation. Unlike the previous version, this includes different pitches that are deeper after applying echo effect for each track.
To get started, you must have the latest build of Audacity and Kdenlive 24.02.2 running on your operating system if you've already installed.
Step 1: Preparing the Audio Clip
Open Audacity, and import or drag and drop your audio file of your choice. Duplicate the same track at a time until there's already three tracks.
Step 2: Applying a Robot-Sounding Audio Effect
When applying the echo filter for each track, your decay factor for the first track is going to be 0.9, then it's 0.8 for the next track, and finally, the last track's decay factor will be 0.7. When you are putting your delay time of your desired value, you should do the same thing for the rest of the tracks.
Next thing you're going to do is changing the pitches. Remember, for the second track, it should be pitch shifted by -12, and the pitch shift value for the third track is -24.
When you're done, remember to play the sound to see if have successfully achieved this audio effect. If it sounds good, then you're ready to export your audio file for your project.
Step 3: Applying the Video Effect
As you opened up the video editor on your screen, import your video clip and the edited audio clip that matches, and began dragging and dropping both to the timeline. If the audio clip doesn't match the same duration as the video, you can trim it a little bit to get it matched with the visuals.
For your first effect to apply, you either choosing the invert filter or the Invert0r effect and drag it to the effect/composition stack panel. Next effect is the technicolour filter and your value is 200 for the blue/yellow axis and -200 for the red/green axis. Finally, apply the curves effect and make sure its channel type is set to hue, and the output values for the left and right points are 0.6 and 0.5. Note that the boxes may not appear in some of the versions of Kdenlive. Now we got the result:
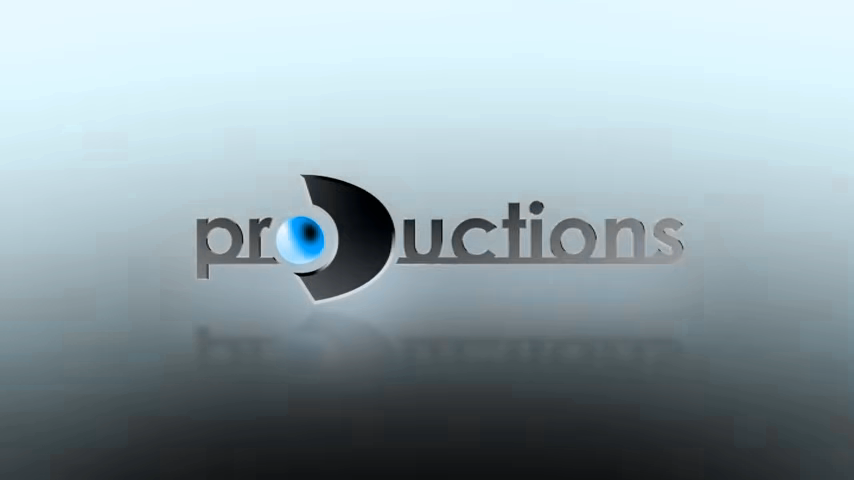
The D Productions opening logo, applied in a pure robotic-like video effect
Step 4: Preview, Render, and Upload
Once you are finished, you simply preview your video and then render it right away into your files anywhere and you can upload it to any video sharing website to show off your edit!