

How to Make Warhol
Created on 17 April 2024
For this video effect, all you need is a video editor "Kdenlive" with the version number 24.02.2 running on your operating system, otherwise, new versions may not work. You can either use Linux, Windows, or macOS to succesfully run the software as mentioned as a requirement for this video effect.
Step 1: Choose a Source
Once you have the software popping up, you first need to choose a source to start editing with by clicking on the first icon and you will see to add a clip to import on the timeline.
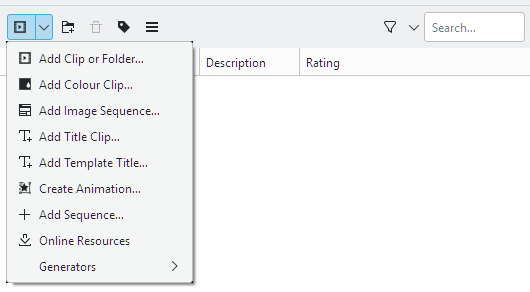
Step 2: Adding More Tracks
Now you have chosen a clip that you need for to put in a timeline later, right-click on one of the tracks and select the first option where you can insert a track. Make sure the video track option is already selected and you will need to add 2 more tracks above or under. You can also delete the second audio track if necessary.
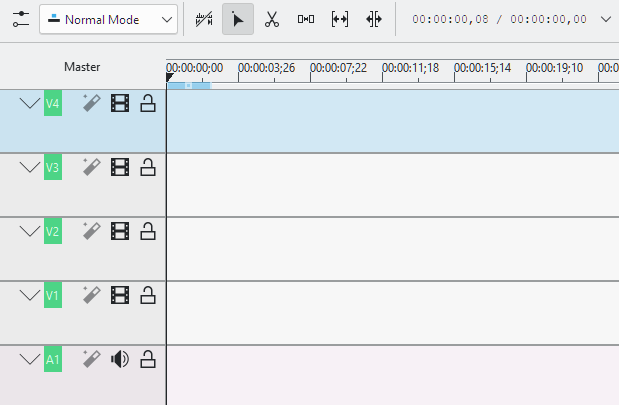
Step 3: Preparing the Layout
After putting the clip on a timeline, you will need to prepare a layout within a 2x2 grid by applying the transform to the clip, and you will set its size to 50% and you will align it to the top-left. Do the same for bottom-left, top-right, and bottom-right parts as well.
Here's what it will look like when you've done that step:
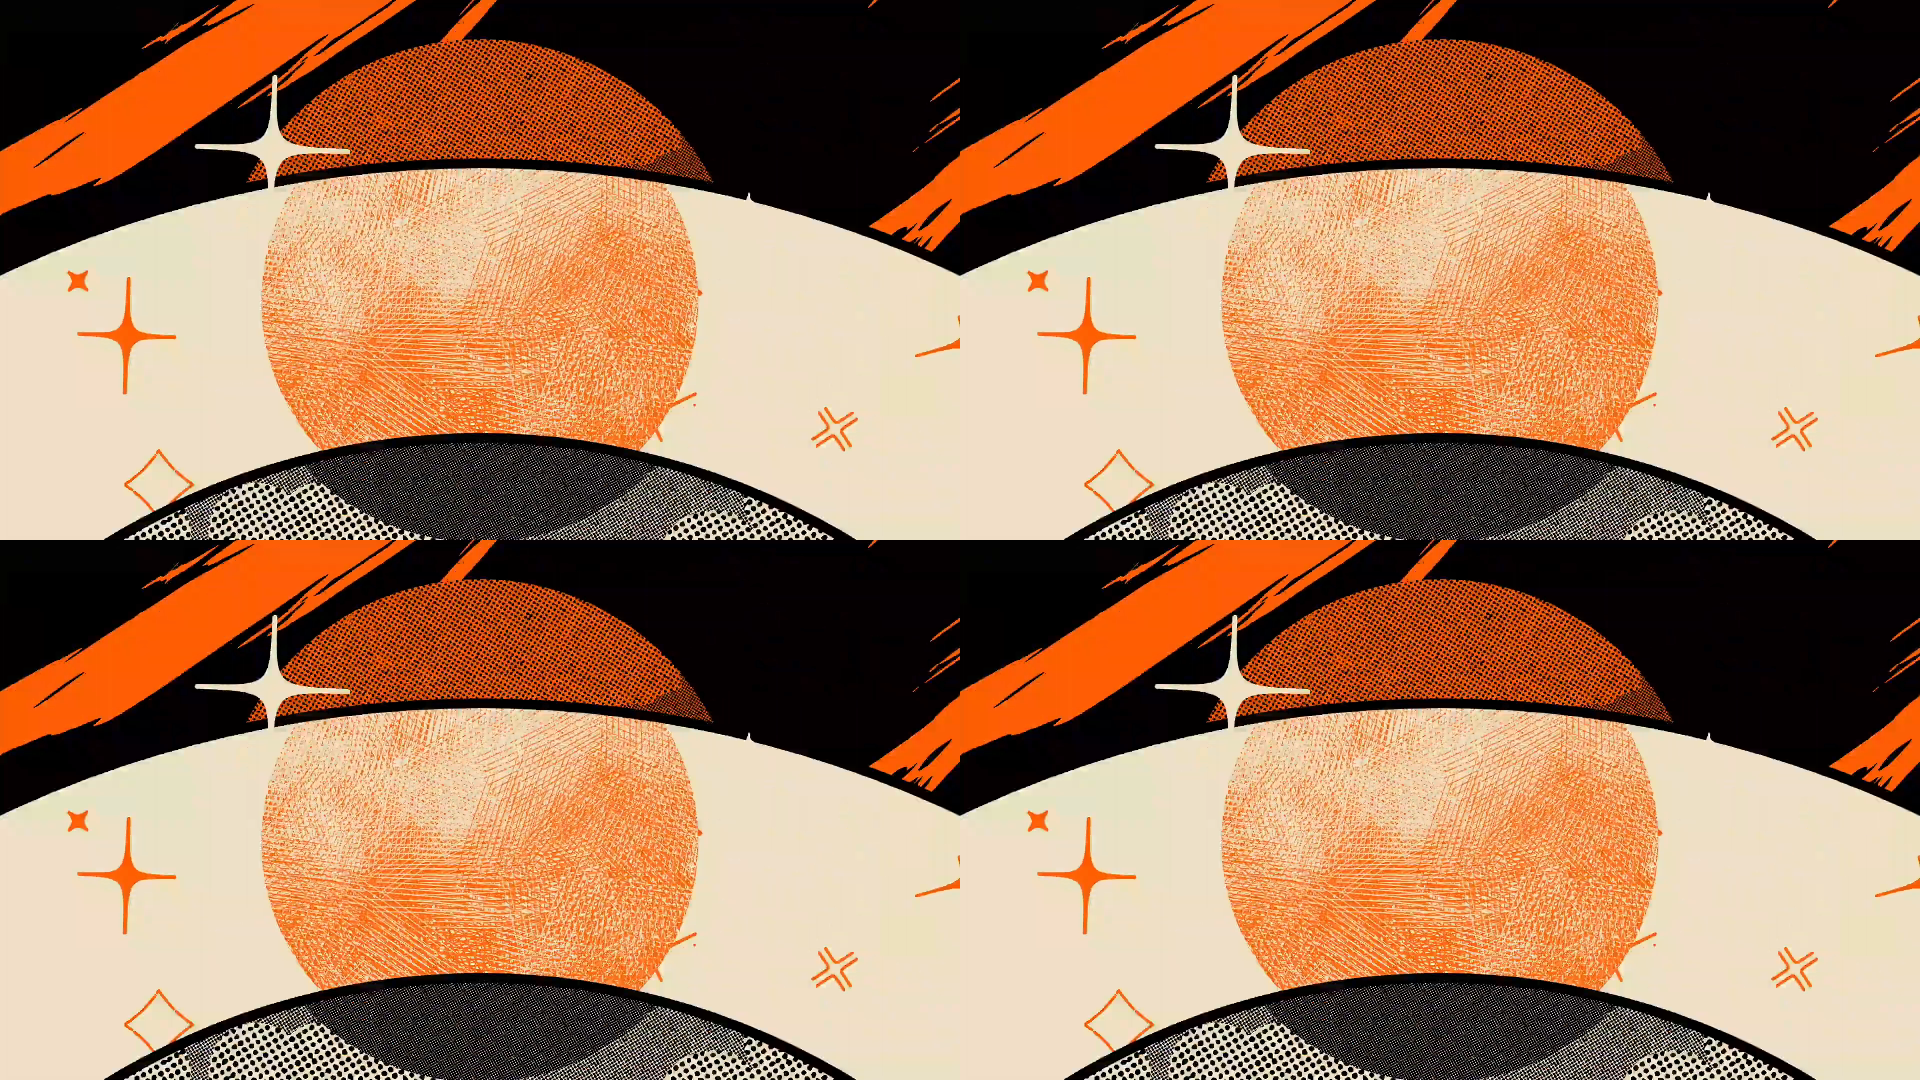
The opening logo by Crunchyroll, applied in a 2x2 grid layout
Step 4: Applying Video Filters
When applying a video filter "Posterize" you might set its value to 0.020. When choosing the Huesaturation to apply it into a track, all its strength valeus will be 100. For the bottom-left, its hue value will be approximately 119.016. For the top-right, its hue will be -128. For the bottom-right, apply the "Swapuv" video filter first before setting the Huesaturation's hue into 130. If you applied that video filter after the "Huesaturation" filter, the colours may not be the same always, it is different as it changes. Here's the preview shown below as a result for this step.
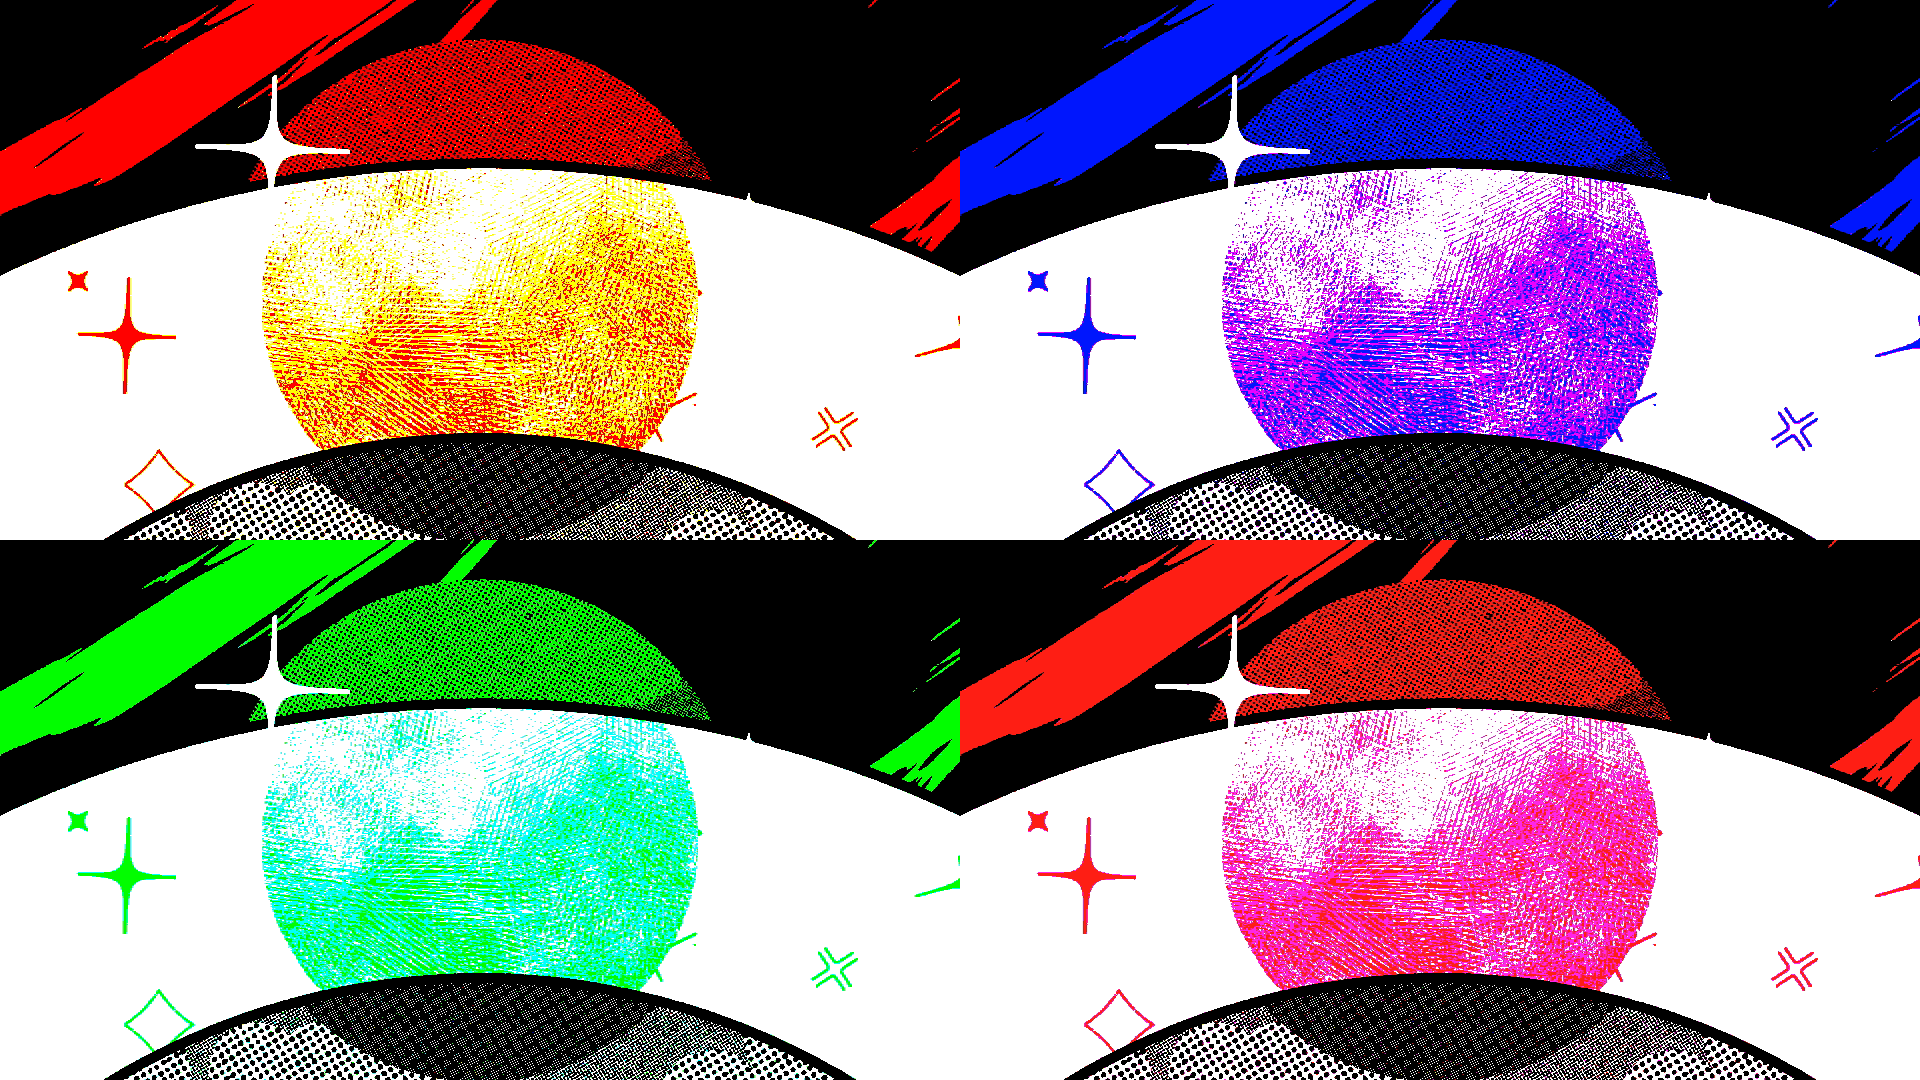
The Crunchyroll opening logo applied with multiple filters to make it a warhol style
Step 5: Preview, Render, and Upload
Once you've completed all of the steps to achieve this effect, click on the render button if you enabled the extra toolbar or hover the project option in the menu bar, and click on the render button. You can use the shortcut "Ctrl+Enter" or "Ctrl+Return" to get the rendering menu pop up on your screen too. Finally, you would name your output file to whatever you want to call it or something and start rendering.
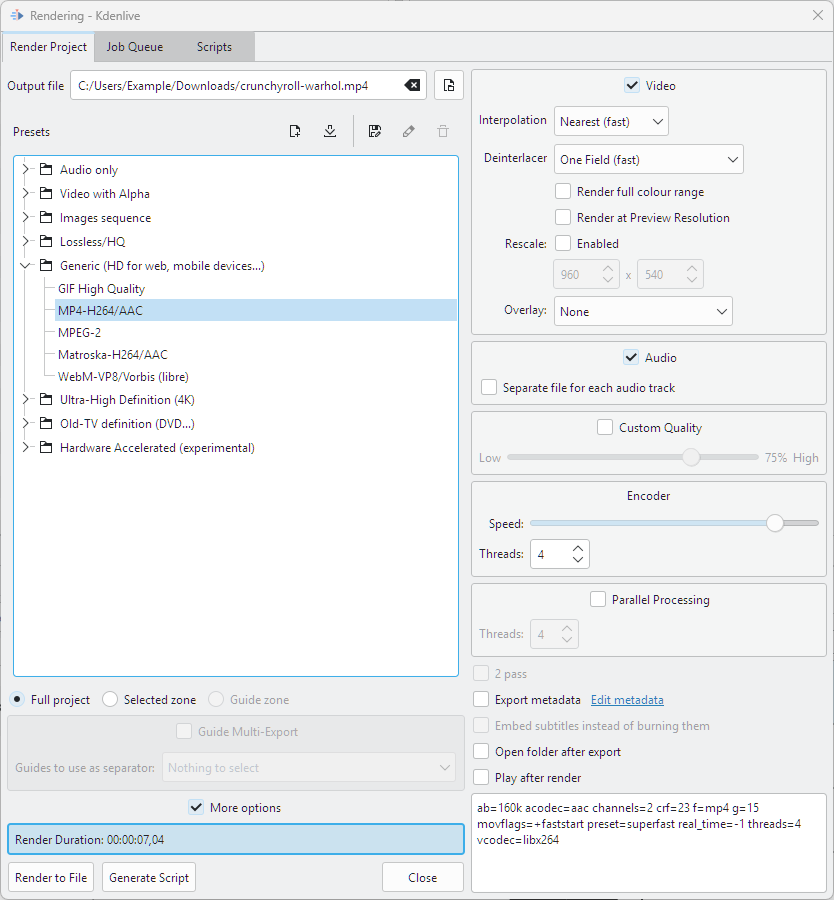
This is how it would look when rendering your own video with the settings and the chosen preferences
Once you've done that, preview your video and upload it to YouTube, Dailymotion, Vimeo, Odysee, Rumble, VidLii, or any other video hosting website you want to put there.